Tuesday 13 May 2014

Concept Character Bust - Scarecrow

My final project with Tony was to create a concept for a character bust and a game menu to go along with it. The purpose of the project was to create a realistic looking bust of a character with all of the muscle groups and body of a human.

My chosen idea for the project was to create a scarecrow with a pirate hat and coat.

Synopsis:
One day there was a group of pirates raiding a farm, the character got unlucky and he ended up becoming cursed by the witch that lived there. His crew-mates abandoned him there thinking he was a goner and his body started to turn into what can only be described as being like a scarecrow. The idea of the game is to play as this pirate (now a scarecrow), being controlled by the curse set upon him to do work on the farm and to scare away intruders and pests.

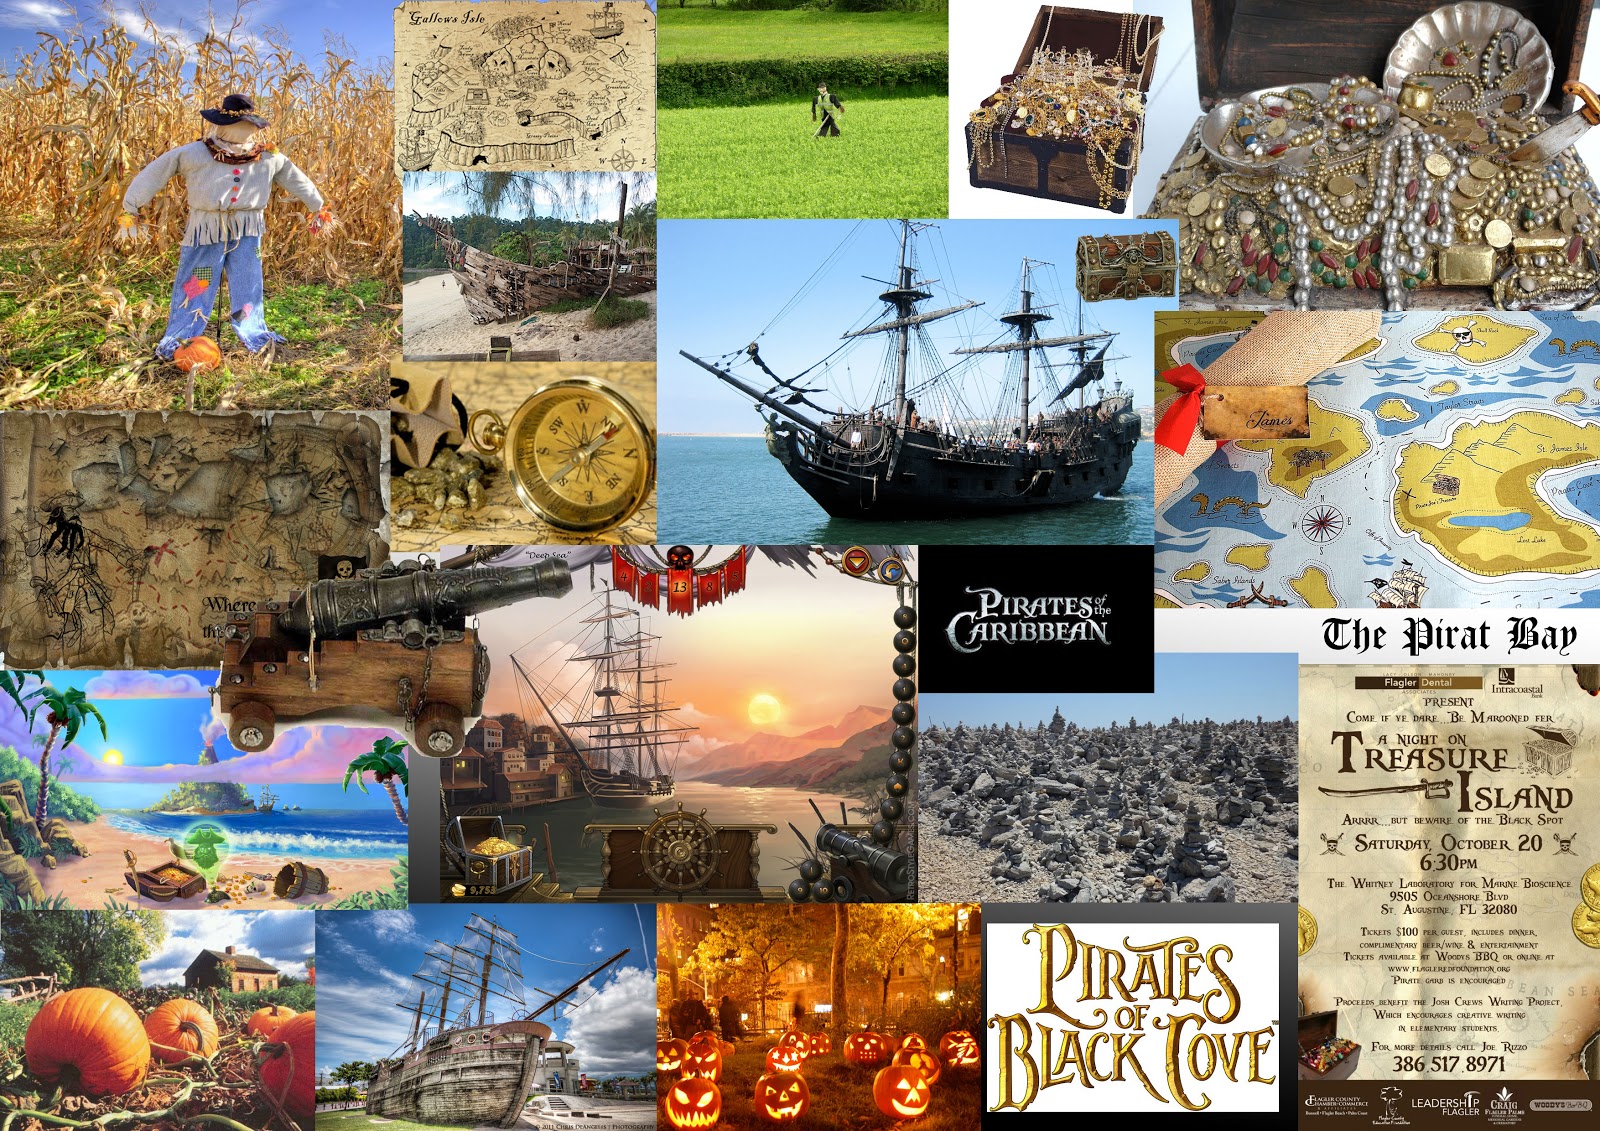
The first thing I did for this project was to create mood boards for inspiration, I searched for images that I liked or images which seemed relevant to my concept idea.


I liked the big pirate hat and the coat so I decided to base it on the image of the pirate. The scarecrow face on the left was the look I decided to create the characters face like. I had the idea of making a bird to perch on the scarecrow's arm.


 The scarecrow sculpture progress:
18th March
Today I started making the character bust, I used a long piece of wire and twisted it to create the bone structure for the bust. For the arm I used a second piece of twisted wire wrapped around the main one, this worked well keeping the structure intact whilst sculpturing it. 

Today's lesson, I added layers onto the sculptures face, chest and back to build up the form a little bit.
25th March
I also created the sack texture over the character's face by rolling out a flat sheet of clay and then by wrapping it around the face and then drawing on it to create a rough surface.
25th March
1st April

Today I created the hat, using a sheet of wire mesh cut into a circle, also a roll of wire mesh for the inside of the hat. Before creating the top of the hat from the hole, I measured it to fit his head. Using a role of wire mesh I was about to create the top of the hat structure which I was then able to use a roll of thin clay to cover. The whole hat was coated in thin layers of clay.
1st April
Once the hat had been made, I placed it over the scarecrow's head, bent it a bit to give it the right shape. 

1st April
I was able to create a feather to place inside of the hat by getting a roll of clay and sticking it to a very small piece of wire. 

29th April
The clothing was made using thin layers of clay that had been rolled out using a rolling pin and small amounts of oil. I was able to create a realistic looking coat by allowing the layer of clay to become creased while wrapping it over the model. Once the object was baked the model of the bird didn't come out very well. 

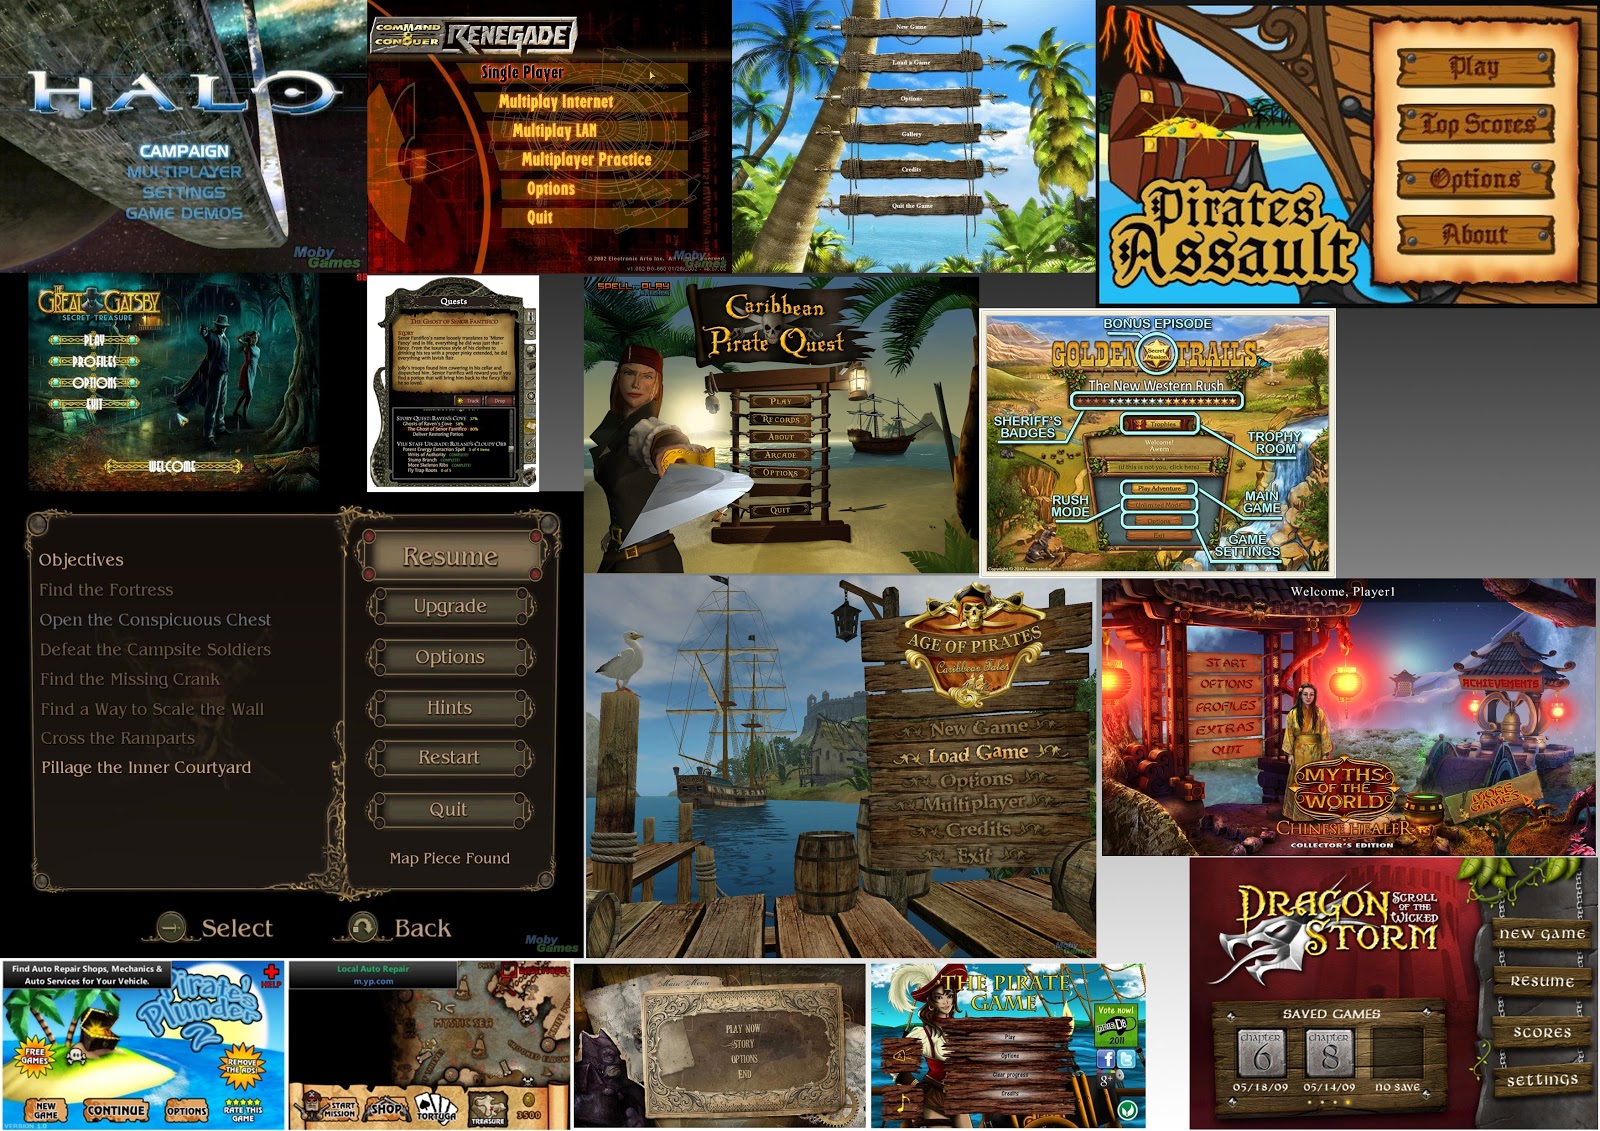
The game menu I created for this project was made up of a photo of some land, bird feathers and skulls. My inspiration came from looking at other game menus.


I took photos of some farm land which I planned to use as the background in my menu.
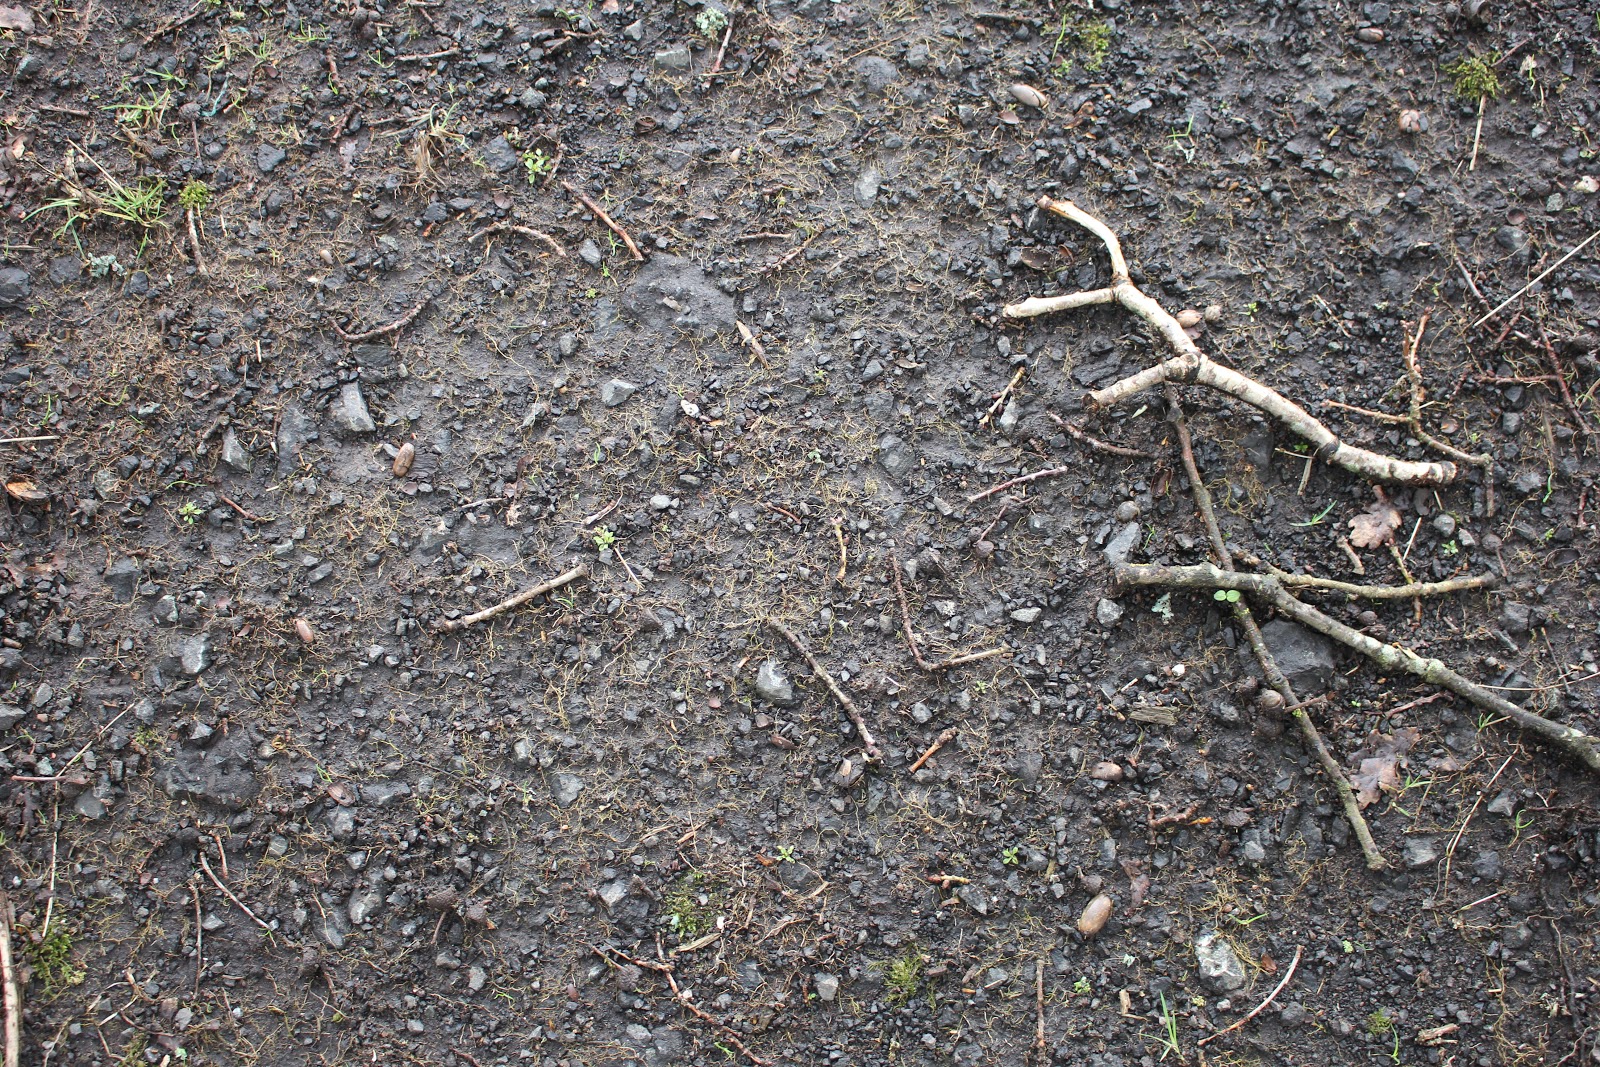
The twigs seem to work well with the idea of a scarecrow
I arranged feathers with the skull to create a symbol
I decided to go along with a Sans serif font for the game name, it creates a clean and readable look to the title. The bird and skull works well as it gives the idea of it being cursed, and the crow feathers are relevant to the whole scarecrow theme. 

Game menu

Friday 9 May 2014

Modular Environment production for games

Modular environments help save time in their creation and resources because it allows the game engine to instance objects to save processing power or memory.

Texture mapping using a 'Main Texture map' or 'Texture Atlas' is when there are multiple textures in the scene saved into the same texture file, usually in a large 1024, 2048 or 4096 texture.

To create a 'Texture Atlas' in Photoshop we need to first choose a square image size ideally big enough to meet the texture space needs and then using the 'Guides, Grid & Slices' preferences we typically set up the Grid line to be every 128, 256 or 512 pixels. The subdivisions option can be set to 2 or 4 depending on if we need extra grid lines. It is important to be sure the grid is set to use Pixels as the measurement.

Example of how a Texture Atlas holds different textures
Once we have created a 'Texture Atlas' we can create a plane object in 3ds Max with an equal amount of segments as the texture (length and height are 1 meter). Converting the plane into an editable poly then allows us to select the faces of the parts we need (such as a door or a window) then we can click on 'Detach' under the 'Edit Geometry' options in the Modify panel.

A quick example
This is just a quick example I have made in order for me to explain how practically this can be used in game design to speed up the process of level creation; creating cut out objects from a texture map allows us to quickly create a level and it is useful for creating modular pieces (like lego) as all of the objects will be of the same sizes.